We would like to help you set up your rental business website for free.
Send us a message and we will answer your questions.
How to repair a bounce house.
Bounce houses provide endless joy and entertainment for children and even adults, but they are not immune to the occasional mishap. Accidents can happen, and cuts or tears may occur in the bounce house material due to rough play, sharp objects, or wear and tear over time. Fortunately, with proper repair techniques, you can quickly mend these damages and restore the bounce house to its original state. Whether the cut is small or substantial, our instructions will guide you through the process of repairing a cut in a bounce house, using either a patch and adhesive or TPU tape and a silicone seam roller. Let's get started on bringing your bounce house back to life for countless hours of bouncing fun.
Items needed to repair a bounce house
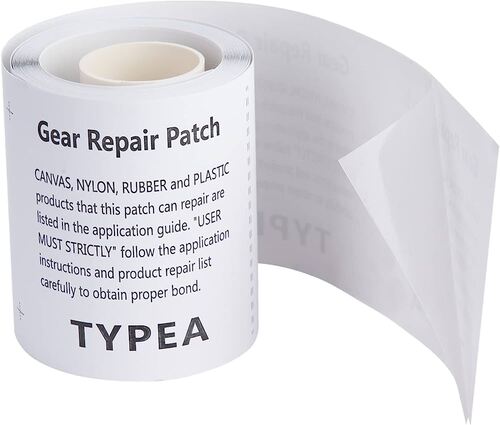
- TPU repair tape
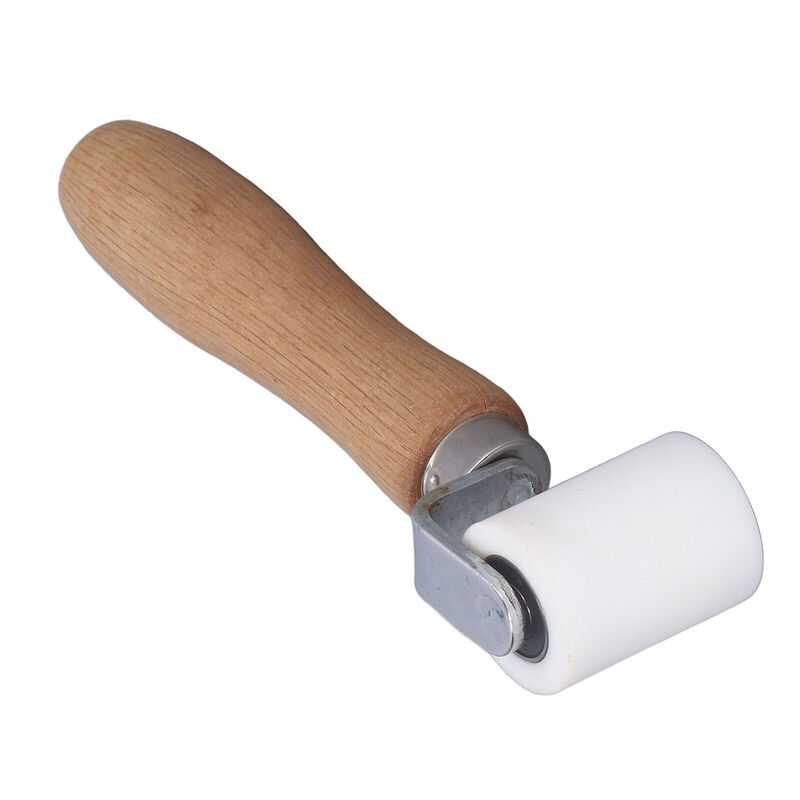
- Silicone seam roller
- Clean cloth or sponge
- Heavy-duty thread or nylon cord
- Sewing needle or heavy-duty sewing machine
- Hairdryer or heat gun (optional)
Start building your party rental website today.
Start nowStep 1: Prepare the Work Area to fix the bounce house.
Choose a clean, well-lit area to work on the bounce house. Ensure there is enough space to spread out the material for repair without any hindrance.
Step 2: Clean the Area
Using a clean cloth or sponge, gently clean the area around the cut with mild soap or dishwashing liquid diluted in water. This helps remove dirt, debris, and any oils that may hinder the repair process. Allow the area to dry completely before proceeding.
Step 3: Assess the Damage
Examine the cut in the bounce house to determine its size and shape. This will help you plan the repair and gather the necessary materials.
Step 4: Cut TPU Tape
Measure and cut a piece of TPU repair tape that is slightly larger than the cut in the bounce house. Ensure the tape is of a suitable width to cover the damaged area completely.
Step 5: Apply TPU Tape
Peel off the backing from the TPU tape and carefully position it over the cut, ensuring it covers the damaged area completely. Press the tape firmly onto the bounce house, starting from one end and working your way to the other. Use your fingers to smooth out any air bubbles or wrinkles.
Why use TPU tape to fix bounce houses?
TPU tape, or thermoplastic polyurethane tape, is a specialized adhesive tape commonly used for repairing and reinforcing bounce houses.
When properly applied, TPU tape forms a strong and long-lasting bond. It helps extend the lifespan of the bounce house, ensuring continued safe usage and minimizing the need for frequent repairs.
Step 6: Roll with Silicone Seam Roller
Using a silicone seam roller, go over the repaired area with firm and even pressure. This helps ensure proper adhesion and removes any remaining air bubbles. Roll in different directions to cover the entire repaired section.
Step 7: Apply Heat (Optional)
If using a heat-sensitive TPU tape, use a hairdryer or heat gun to gently warm the repaired area. This will activate the adhesive on the tape and improve its bonding strength. Be cautious not to overheat the bounce house material.
Step 8: Reinforce with Stitching
To provide additional strength to the repair, consider reinforcing the edges of the TPU tape with stitching. Thread a sewing needle with heavy-duty thread or nylon cord, and sew around the edges of the tape. Use a strong stitch pattern, such as a zigzag or lock stitch, to secure the tape firmly to the bounce house. Alternatively, you can use a heavy-duty sewing machine for this step.
Step 9: Allow the Repair to Cure
Allow the repaired area to cure as per the instructions provided with the TPU tape. This usually involves letting the repair sit undisturbed for a specific duration.
Step 10: Test the Repair
Once the repair has cured, carefully inflate the bounce house and inspect the repaired area. Check for any signs of leakage or further damage. If the repair holds and the bounce house remains secure, the repair is successful.
Remember, it's important to follow the manufacturer's instructions for the TPU tape and silicone seam roller, as different products may have specific application guidelines.
You will need to invest in a van or truck for transporting the bouncy houses. If you can't afford transportation means right now you can rent a vehicle on demand when the bouncy house rental job comes in.
You can checkout our documentation page page to see how some of the features from the RentalSetup platform can help you with your rental business.
Checkout our facebook page
RentalSetup
The easiest way to build your rental business website. Get started for free.
Legal
Privacy Policy© 2026 RentalSetup. All rights reserved.