Setting Up a Custom Domain for Your Rental Site
A custom domain name (e.g., www.yourbusiness.com) gives your rental website a professional look and makes it easier for customers to find you. This guide will walk you through setting up your domain with us. For a complete walkthrough, including setting up payments, watch the video below.
Bring Your Own Domain or Get a New One
You have two options for your domain:
- Use your own domain: If you already own a domain from a registrar like GoDaddy or Namecheap, you can connect it to the website built with Rentalsetup.com.
- Create a domain with us: You can search for and purchase a new domain name directly through the app.
You can manage your domain in the profile section of your account after you log in.
Step 1: Find the Domain Settings
Once you are logged in, navigate to your profile page. This is where you will find the tools to manage your domain.

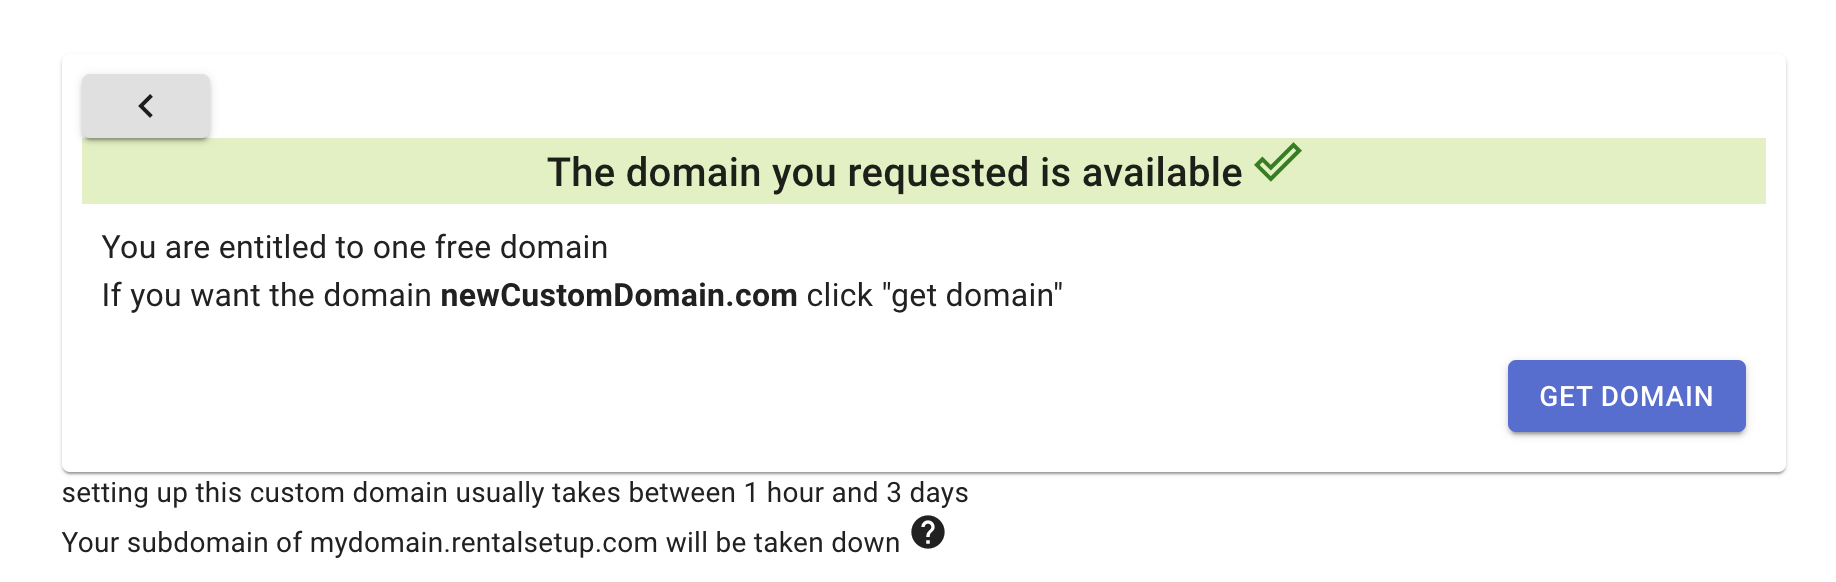
Step 2: Check Domain Availability
If the domain you selected is available for purchase, you will be directed to the "Domain available" screen. Review the details and click "Get domain" to proceed.
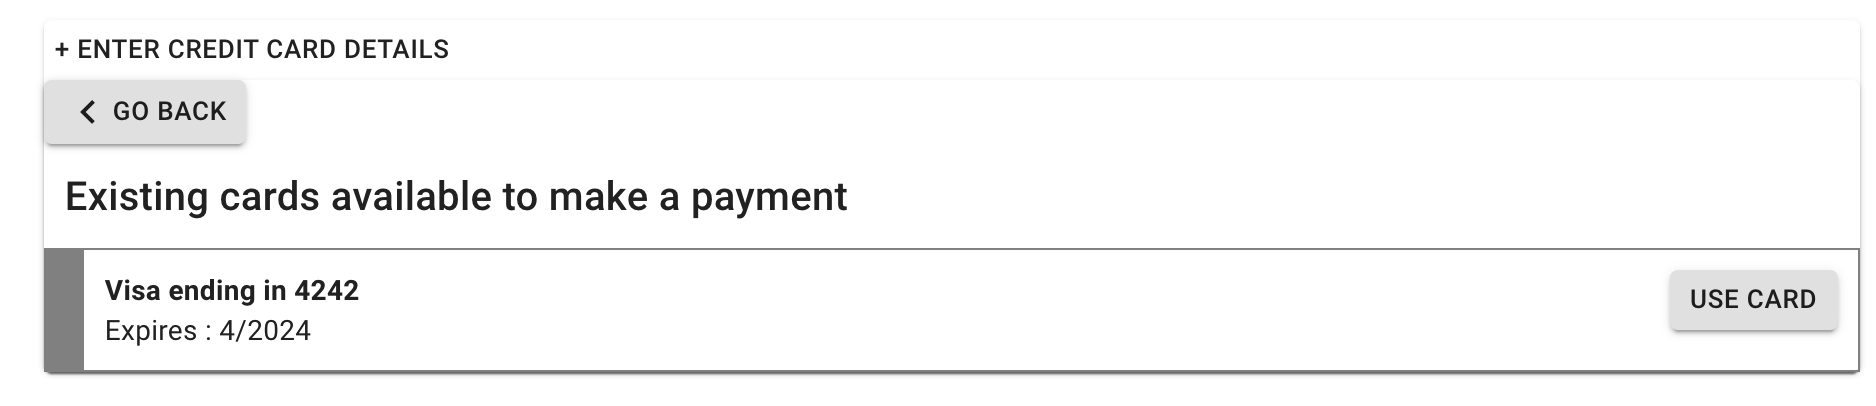
Step 3: Complete the Purchase
If you are still within your trial period or purchasing a new domain, you will be presented with a credit card form to complete the transaction.
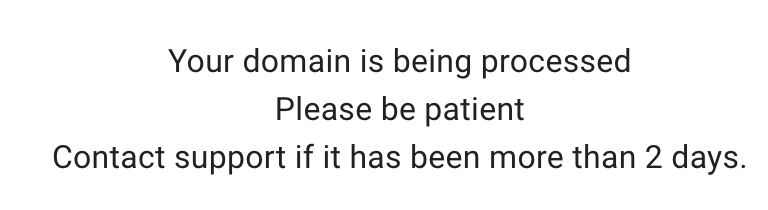
Step 4: Awaiting Confirmation
After submitting payment (if required), you will see a confirmation page indicating that your domain setup is in progress.
Step 5: Domain Propagation
Once your domain is attached to your RentalSetup account, it needs to propagate across the internet. This process typically takes between 1 to 3 hours but can sometimes last up to 48 hours. During this time, your website might not be accessible at the new domain.
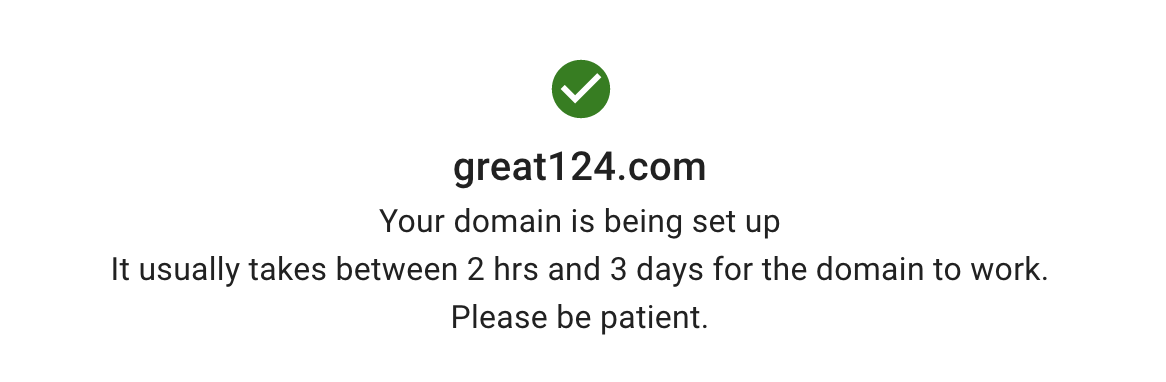
Step 6: Success!
Upon completion, your custom domain will be fully attached and live. Congratulations, your rental website now has a professional custom domain!