Video Tutorial
Getting Started with RentalSetup.com
Quick Start Guide
Follow these simple steps to get your rental business up and running online:
- Sign up and create your subdomain
- Create your first product through the dashboard
- Customize your site with your branding and information
- Test the process by scheduling a rental as a customer
- Upgrade when ready to accept credit cards and use a custom domain
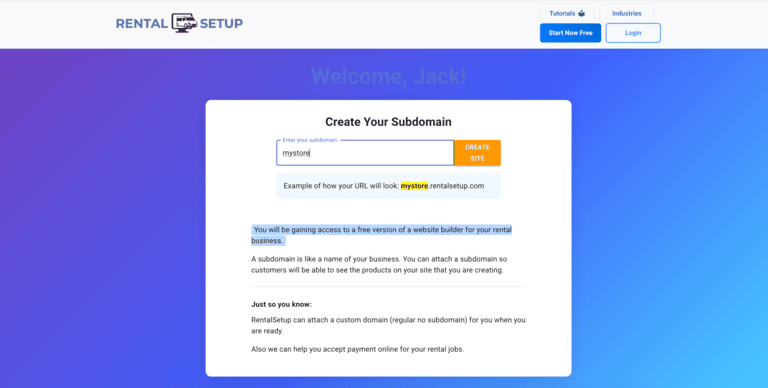
Creating Your Website
After signing up, you'll choose a subdomain for your rental website. This will be the URL your customers use to find you (example: yourbusiness.rentalsetup.com). You can later upgrade to a custom domain for a small fee.
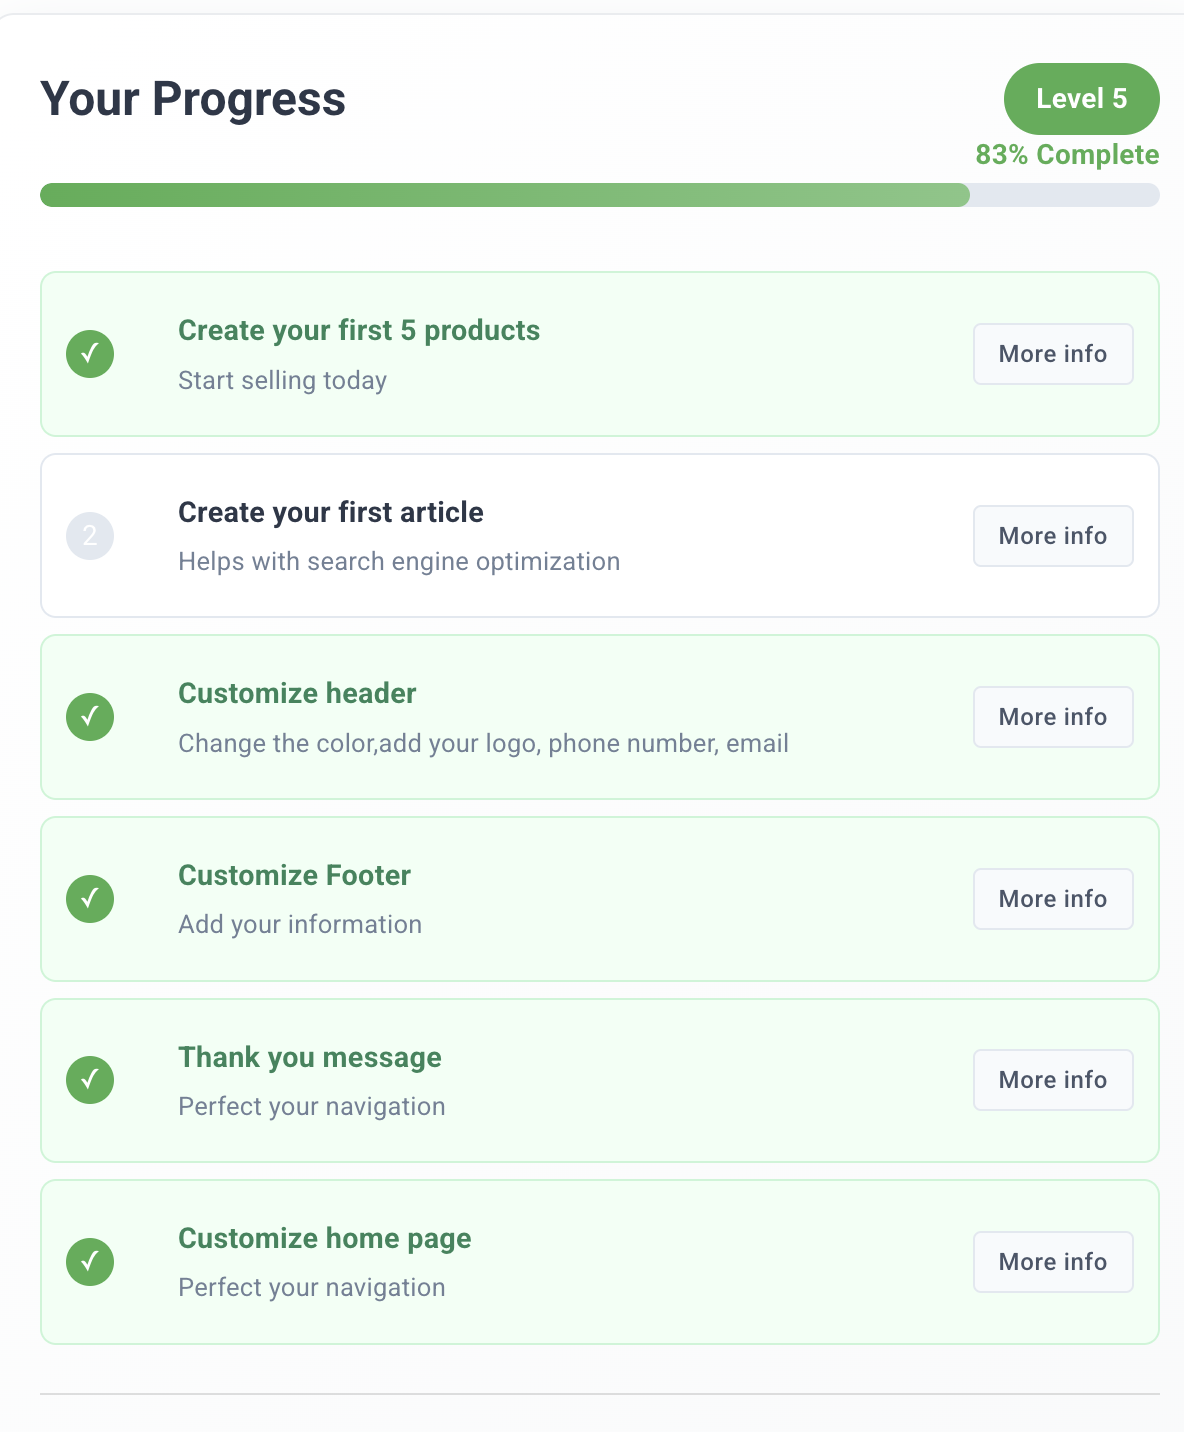
Using Your Dashboard
Your dashboard shows:
- Progress indicators to help you complete setup
- Tips for maximizing the free version
- Quick access to create and manage products
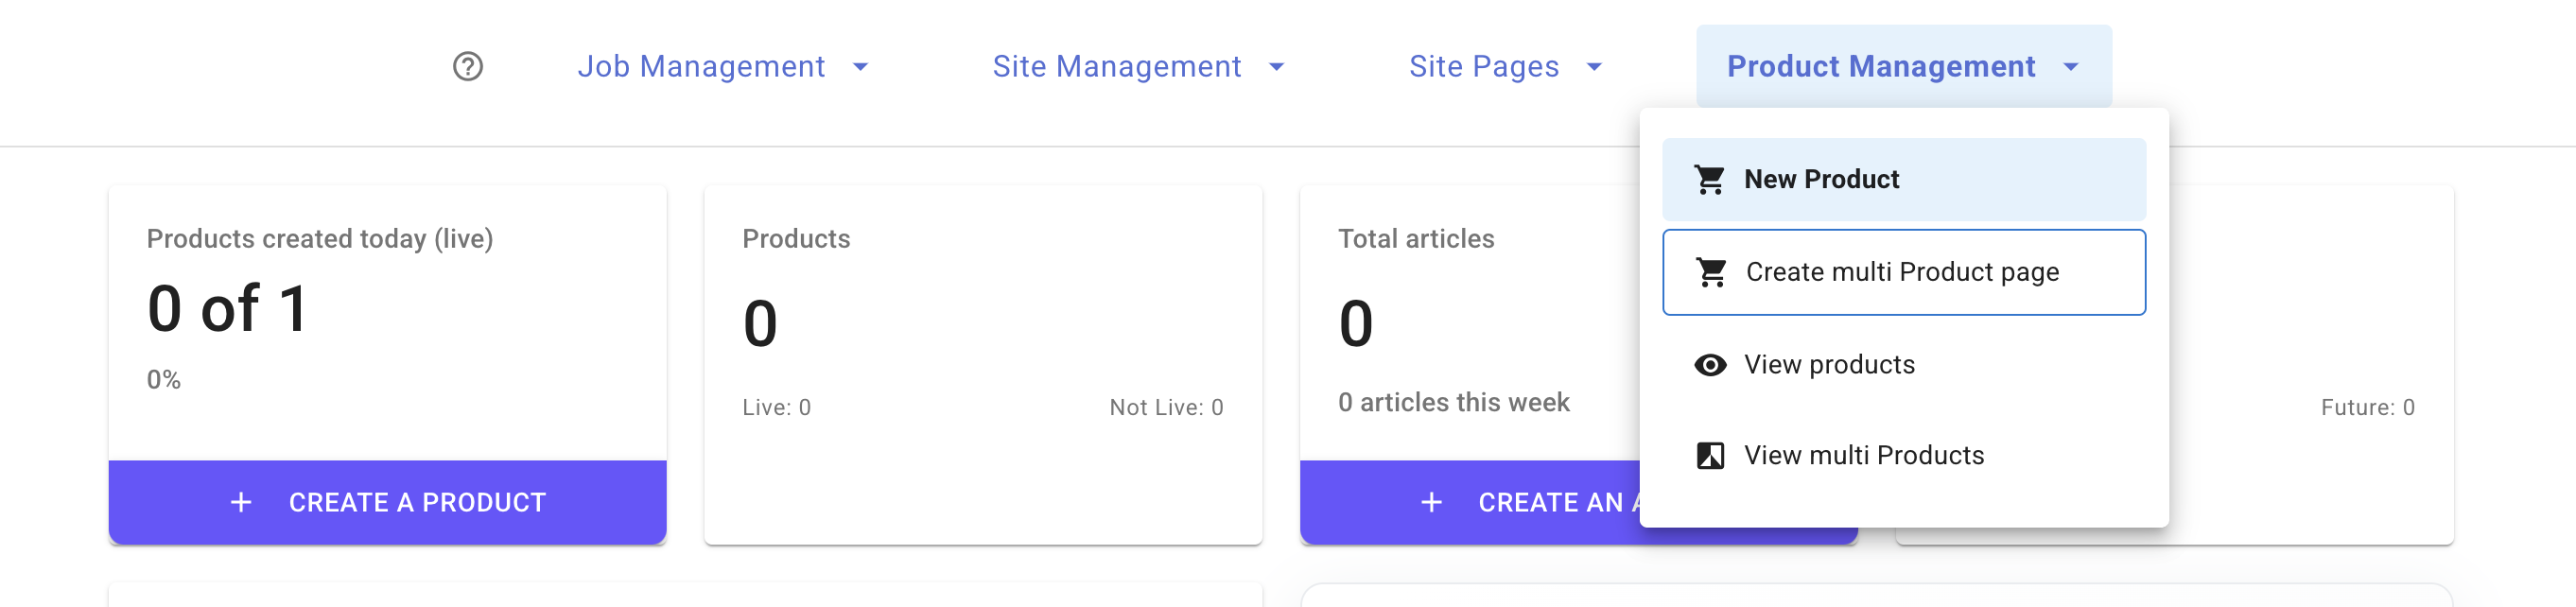
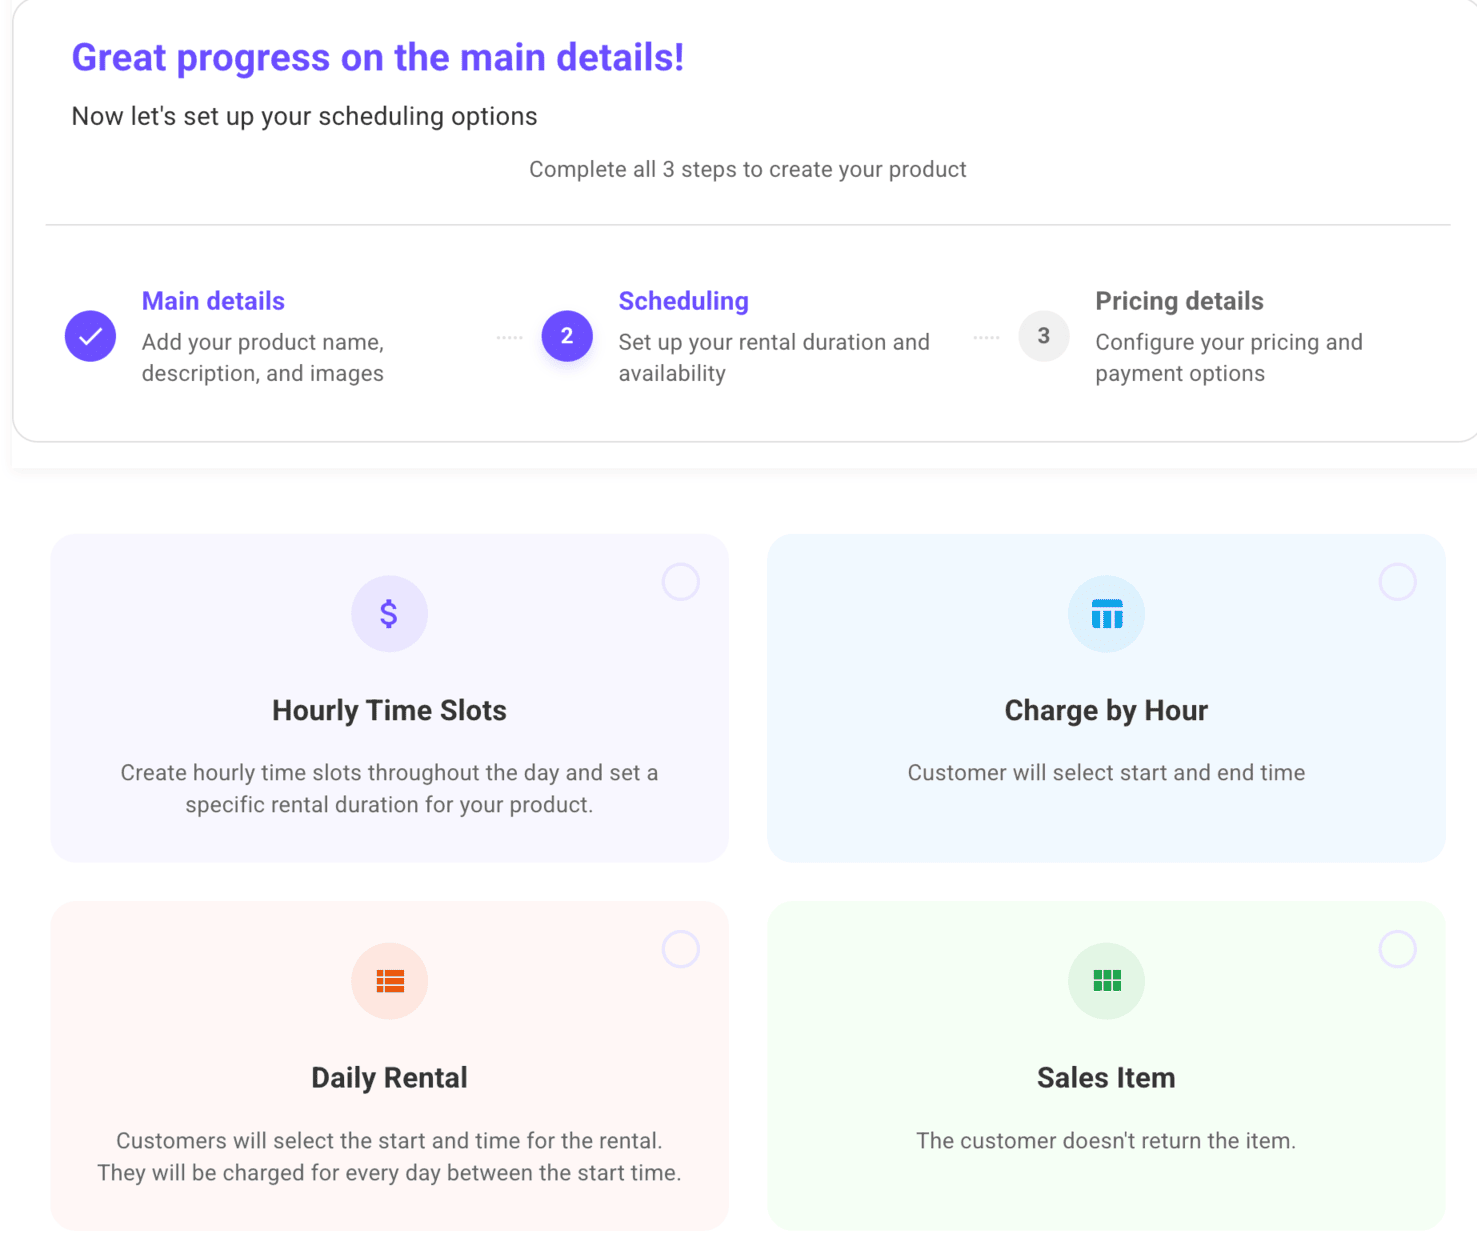
Creating Rental Products
To add a rental product:
- Click the "Create" button in the dashboard or header
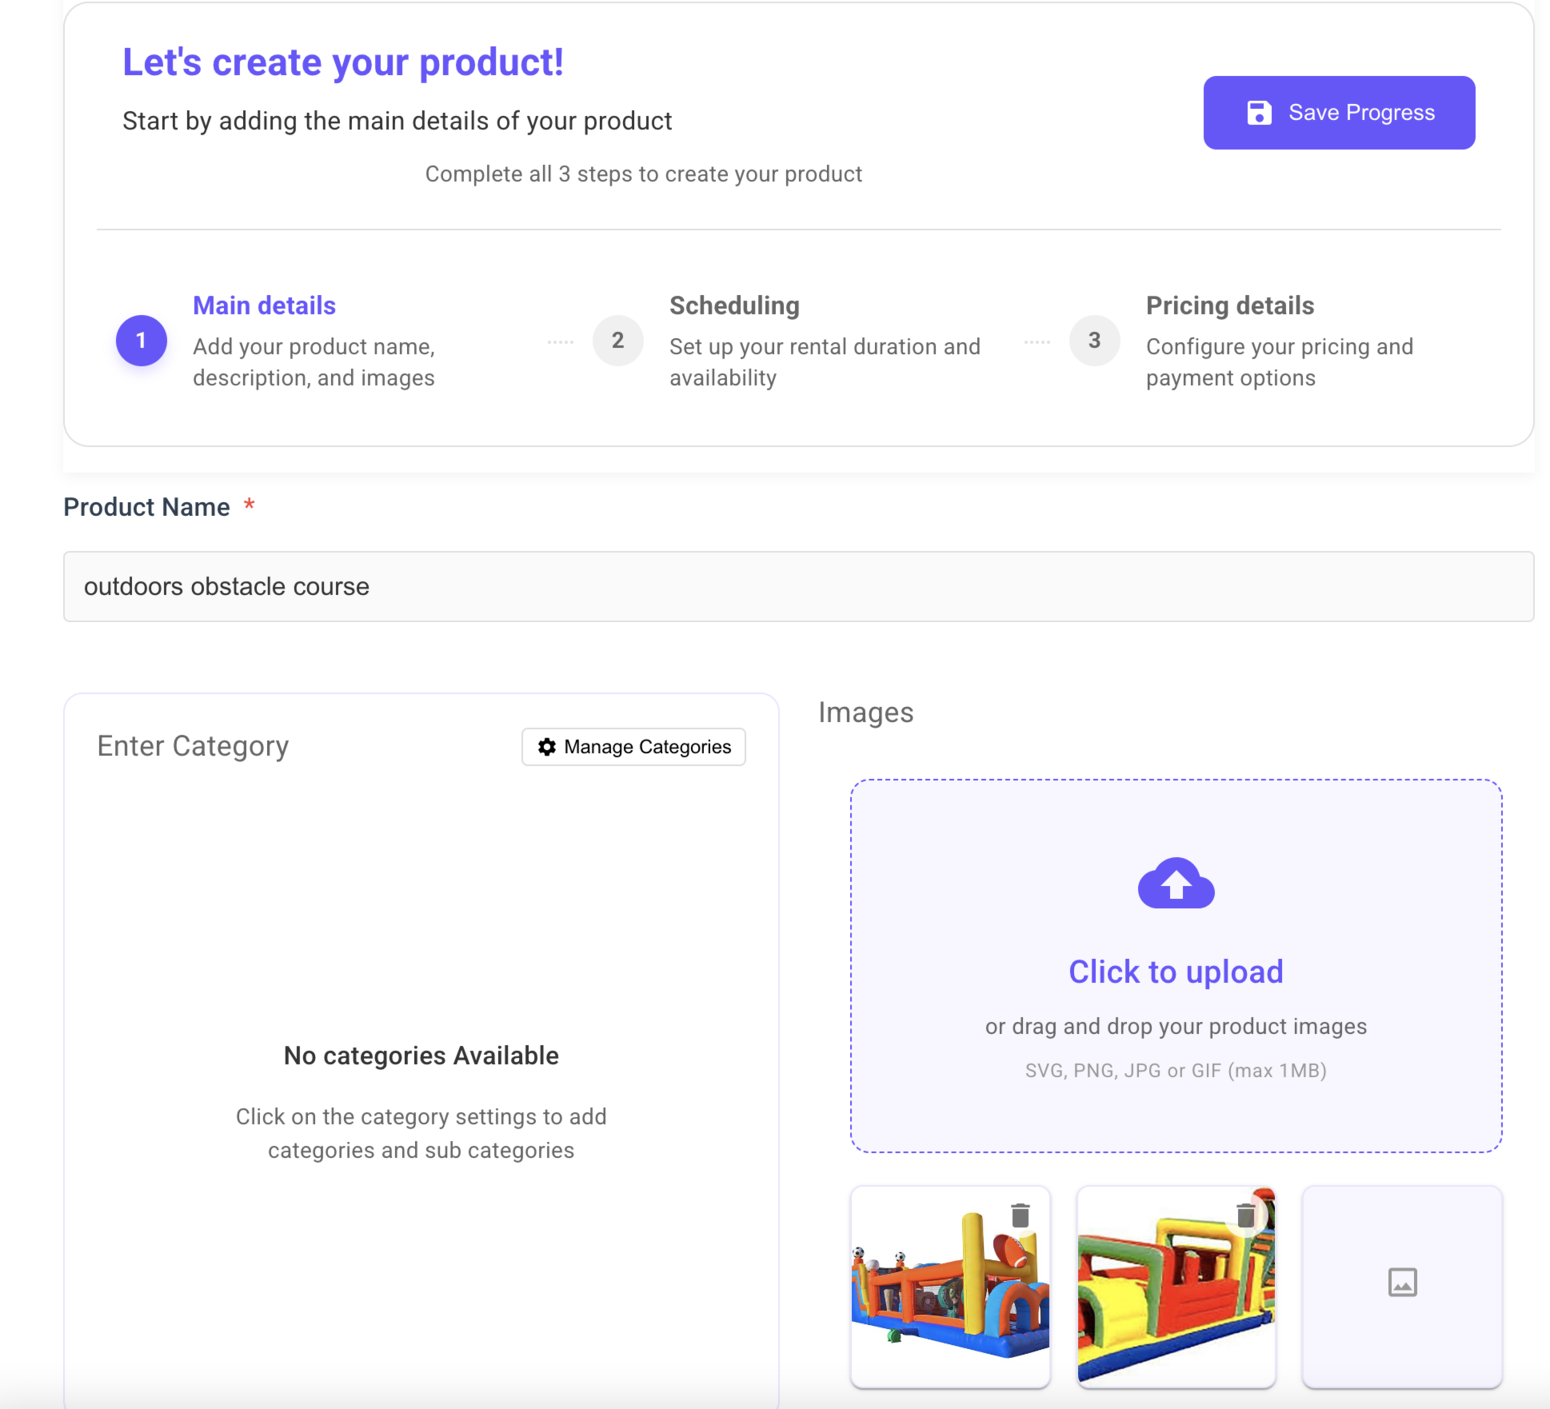
- Enter the product information (name, description, images)
- Choose your preferred scheduling form style
- Set your rental rates and availability
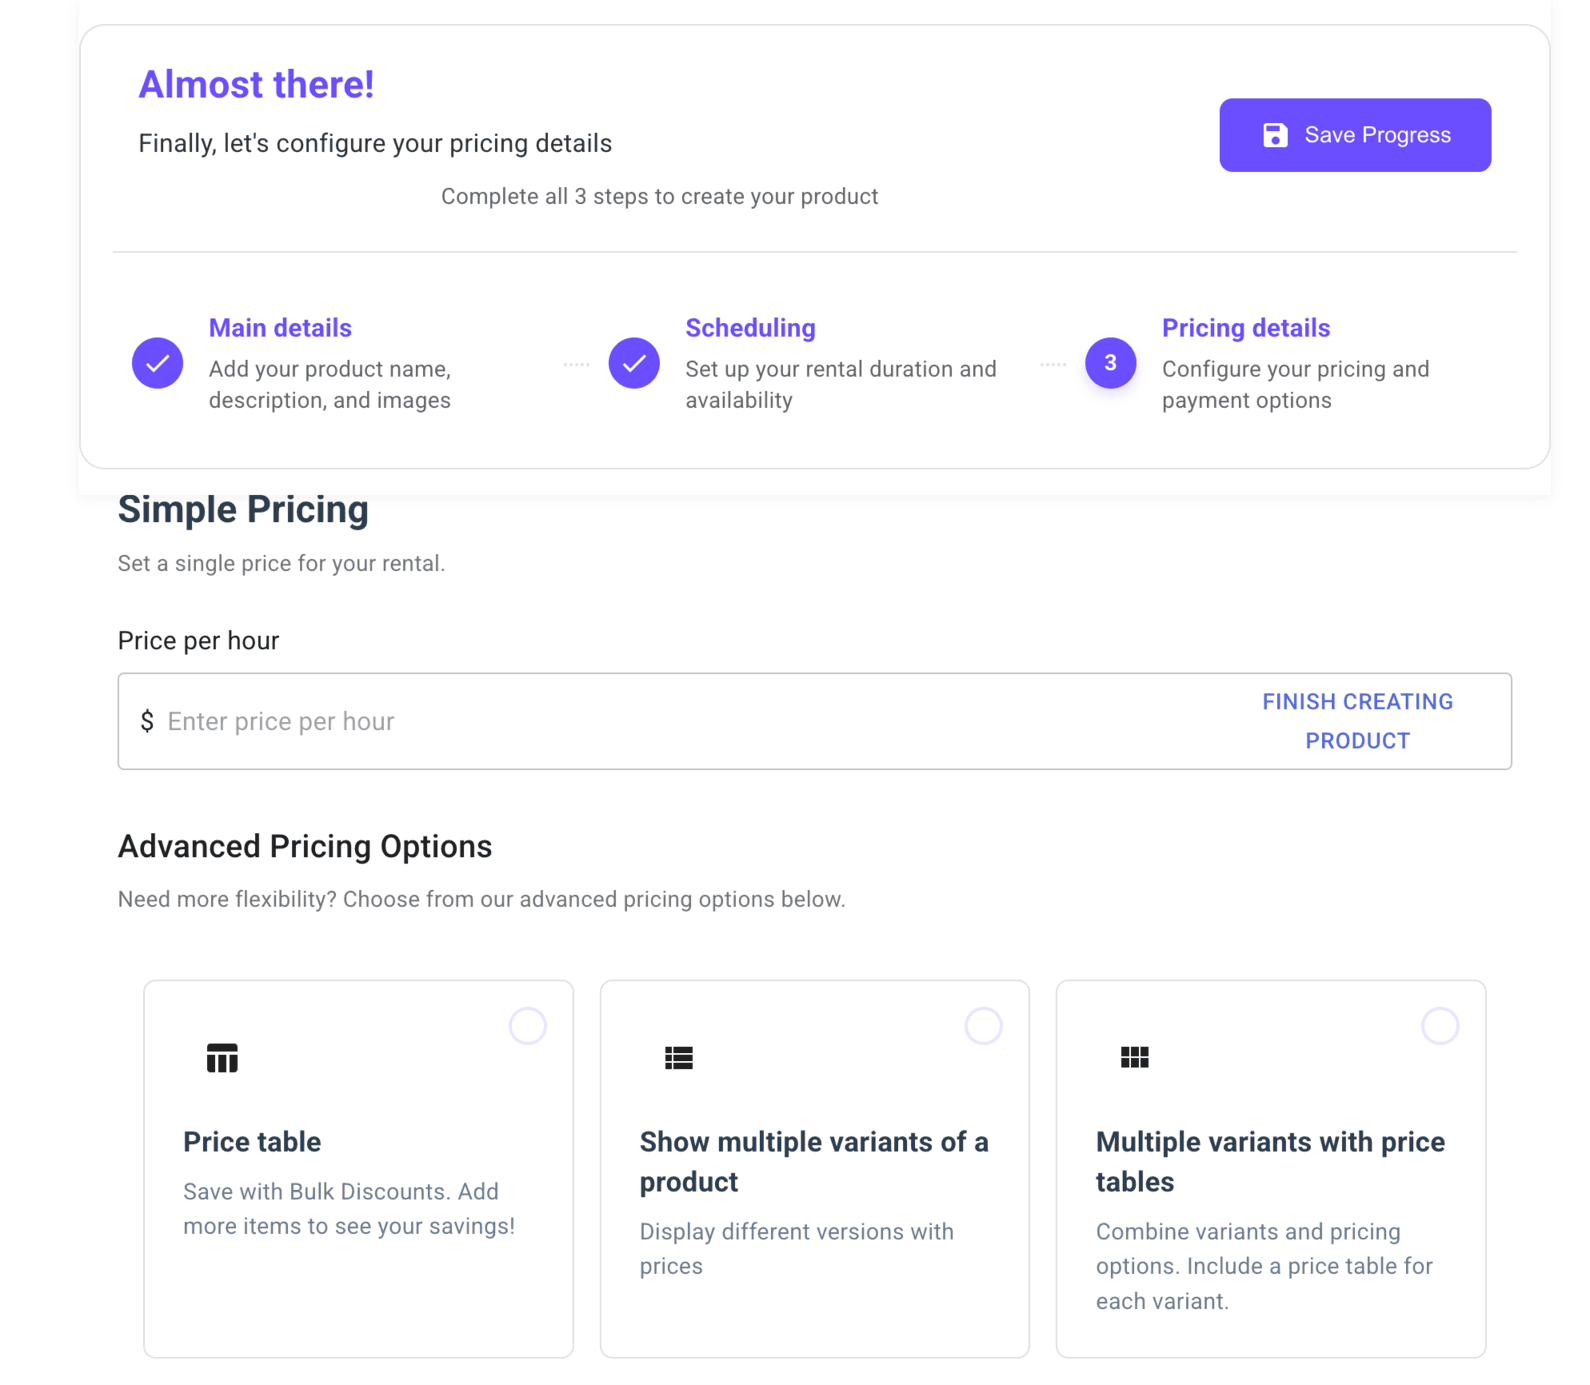
After completing these steps, click "Go to product page" to view your new listing.
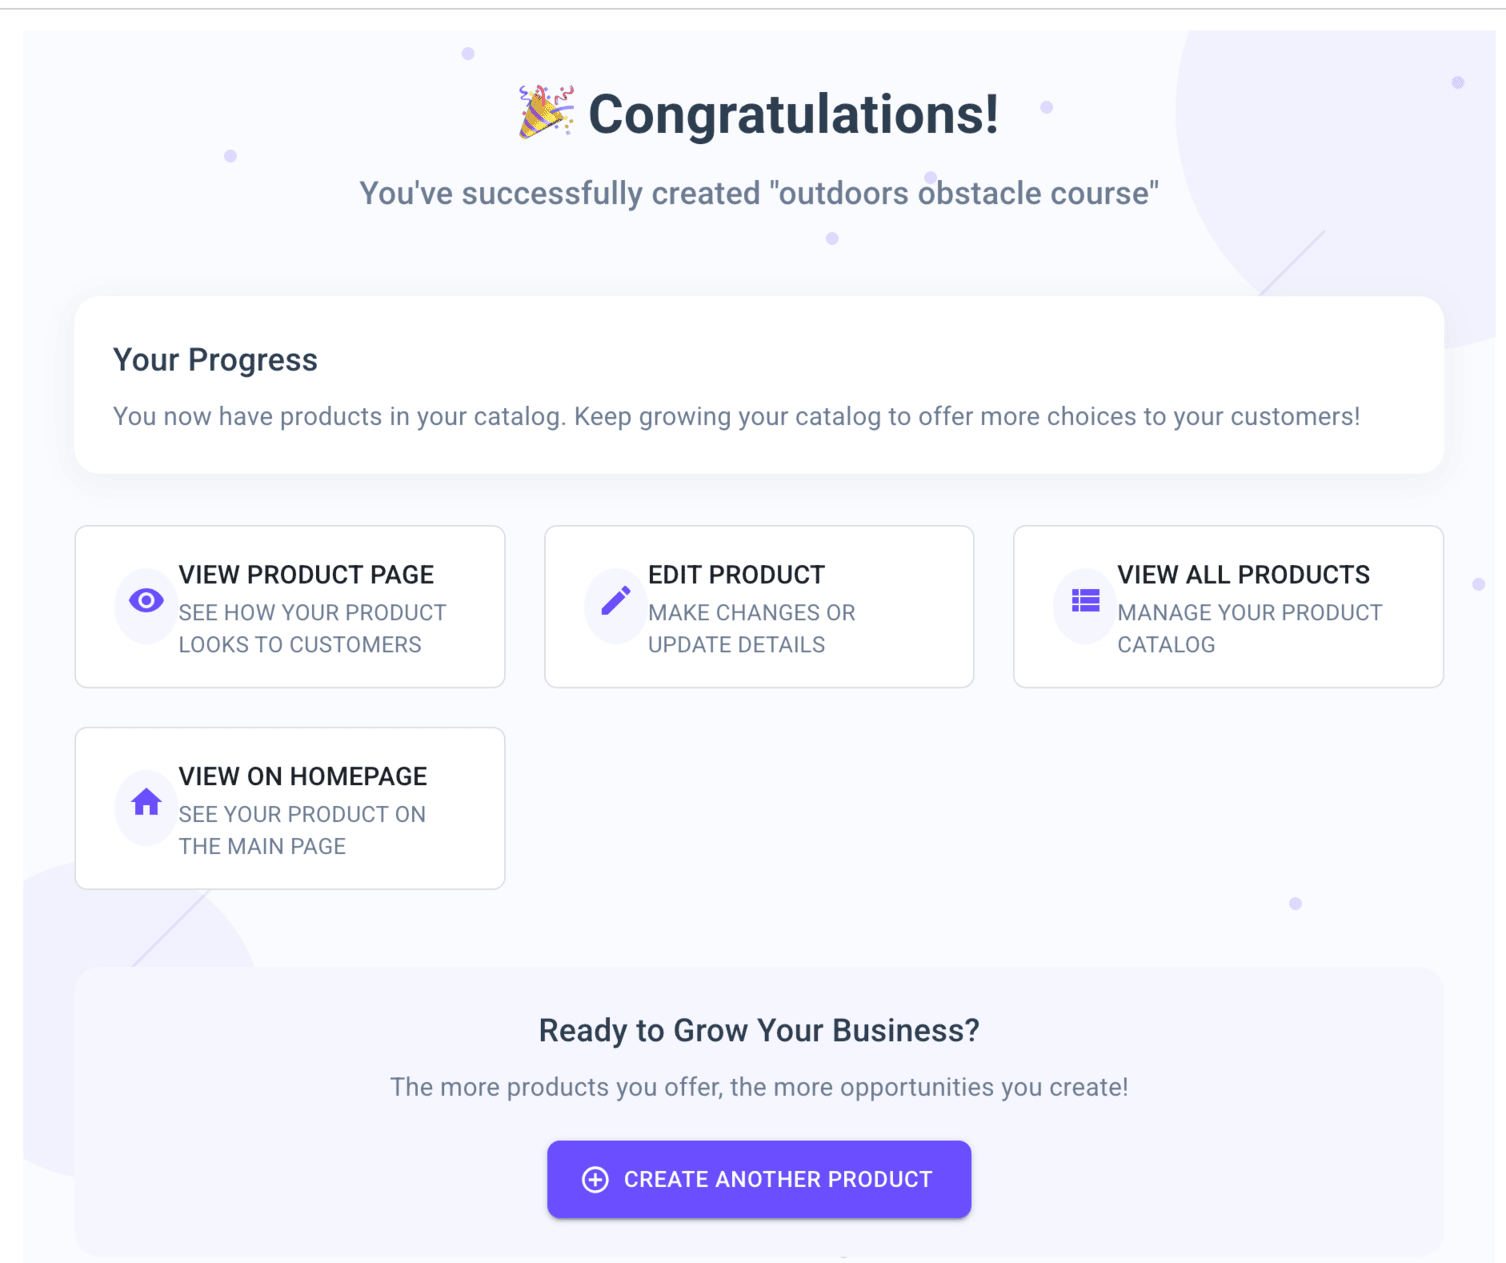
Managing Your Products
You can edit any product by:
- Visiting the product page and using the edit options at the top
- Go to the edit page to change pricing, availability, and other details
- check out the different views of the product page
Testing Your Setup
We recommend logging out and testing the rental process as a customer:
- Browse your site and schedule a rental
- Check your email (the one used at signup) for the booking notification
- Review how the process works from the customer perspective
- Check out the jobs list page to see the bookings you have received
Customizing Your Site
Enhance your site by:
- Customizing the footer and navigation bar
- Adding banners and text to your homepage
- Adding a custom thankyou message when a customer completes a booking

Upgrading Your Account
When you're ready to grow, visit your profile page to:
- Enable credit card payments
- Attach a custom domain (read about it attaching a custom domain here)
Both premium features are available for just $25.
Start building your rental business today and watch it grow with our easy-to-use platform.
RentalSetup
The easiest way to build your rental business website. Get started for free.
Legal
Privacy Policy© 2026 RentalSetup. All rights reserved.