View Rental Product Page
Managing Your Rental Product Website Pages: 4 Essential Views for Success
Once you create your rental product page, there are 4 different ways to view and manage it. Understanding each view will help you optimize your listing and provide the best experience for your customers.
1. Standard Admin View
The Standard Admin View displays your product page with essential admin features. This gives you a quick overview of how your product appears while still providing basic editing capabilities.
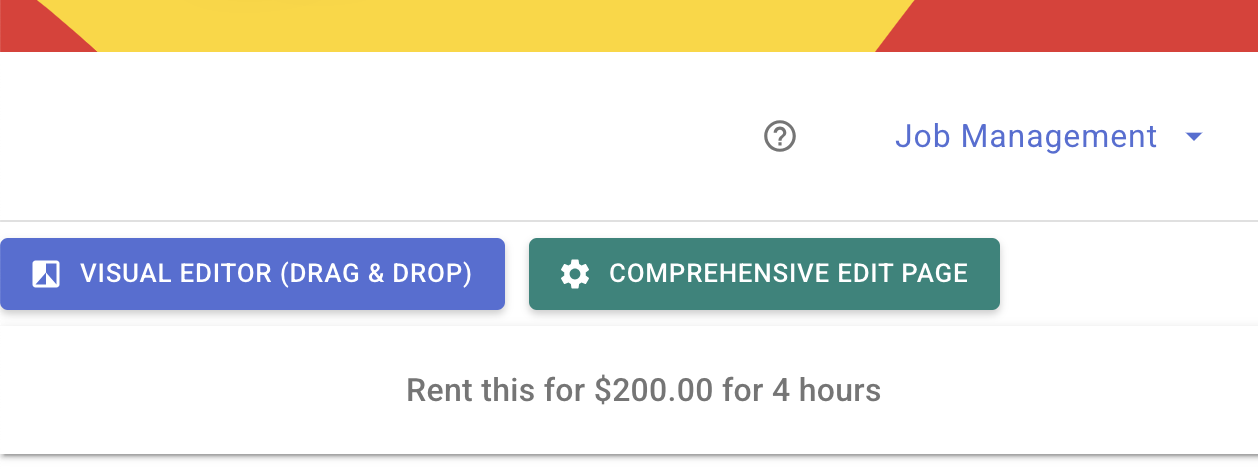
Navigation Tips:
- This is the default view you'll see after creating a product
- Two navigation buttons at the top provide access to other management views
- You can also access this view from the product list page by clicking the "Go to Product Page" button
2. Interactive Mode
The Interactive Mode features an admin bar where you can visually add colors and images, and easily drag images to rearrange them. This view includes convenient edit buttons positioned around different content areas for quick updates to descriptions and images.
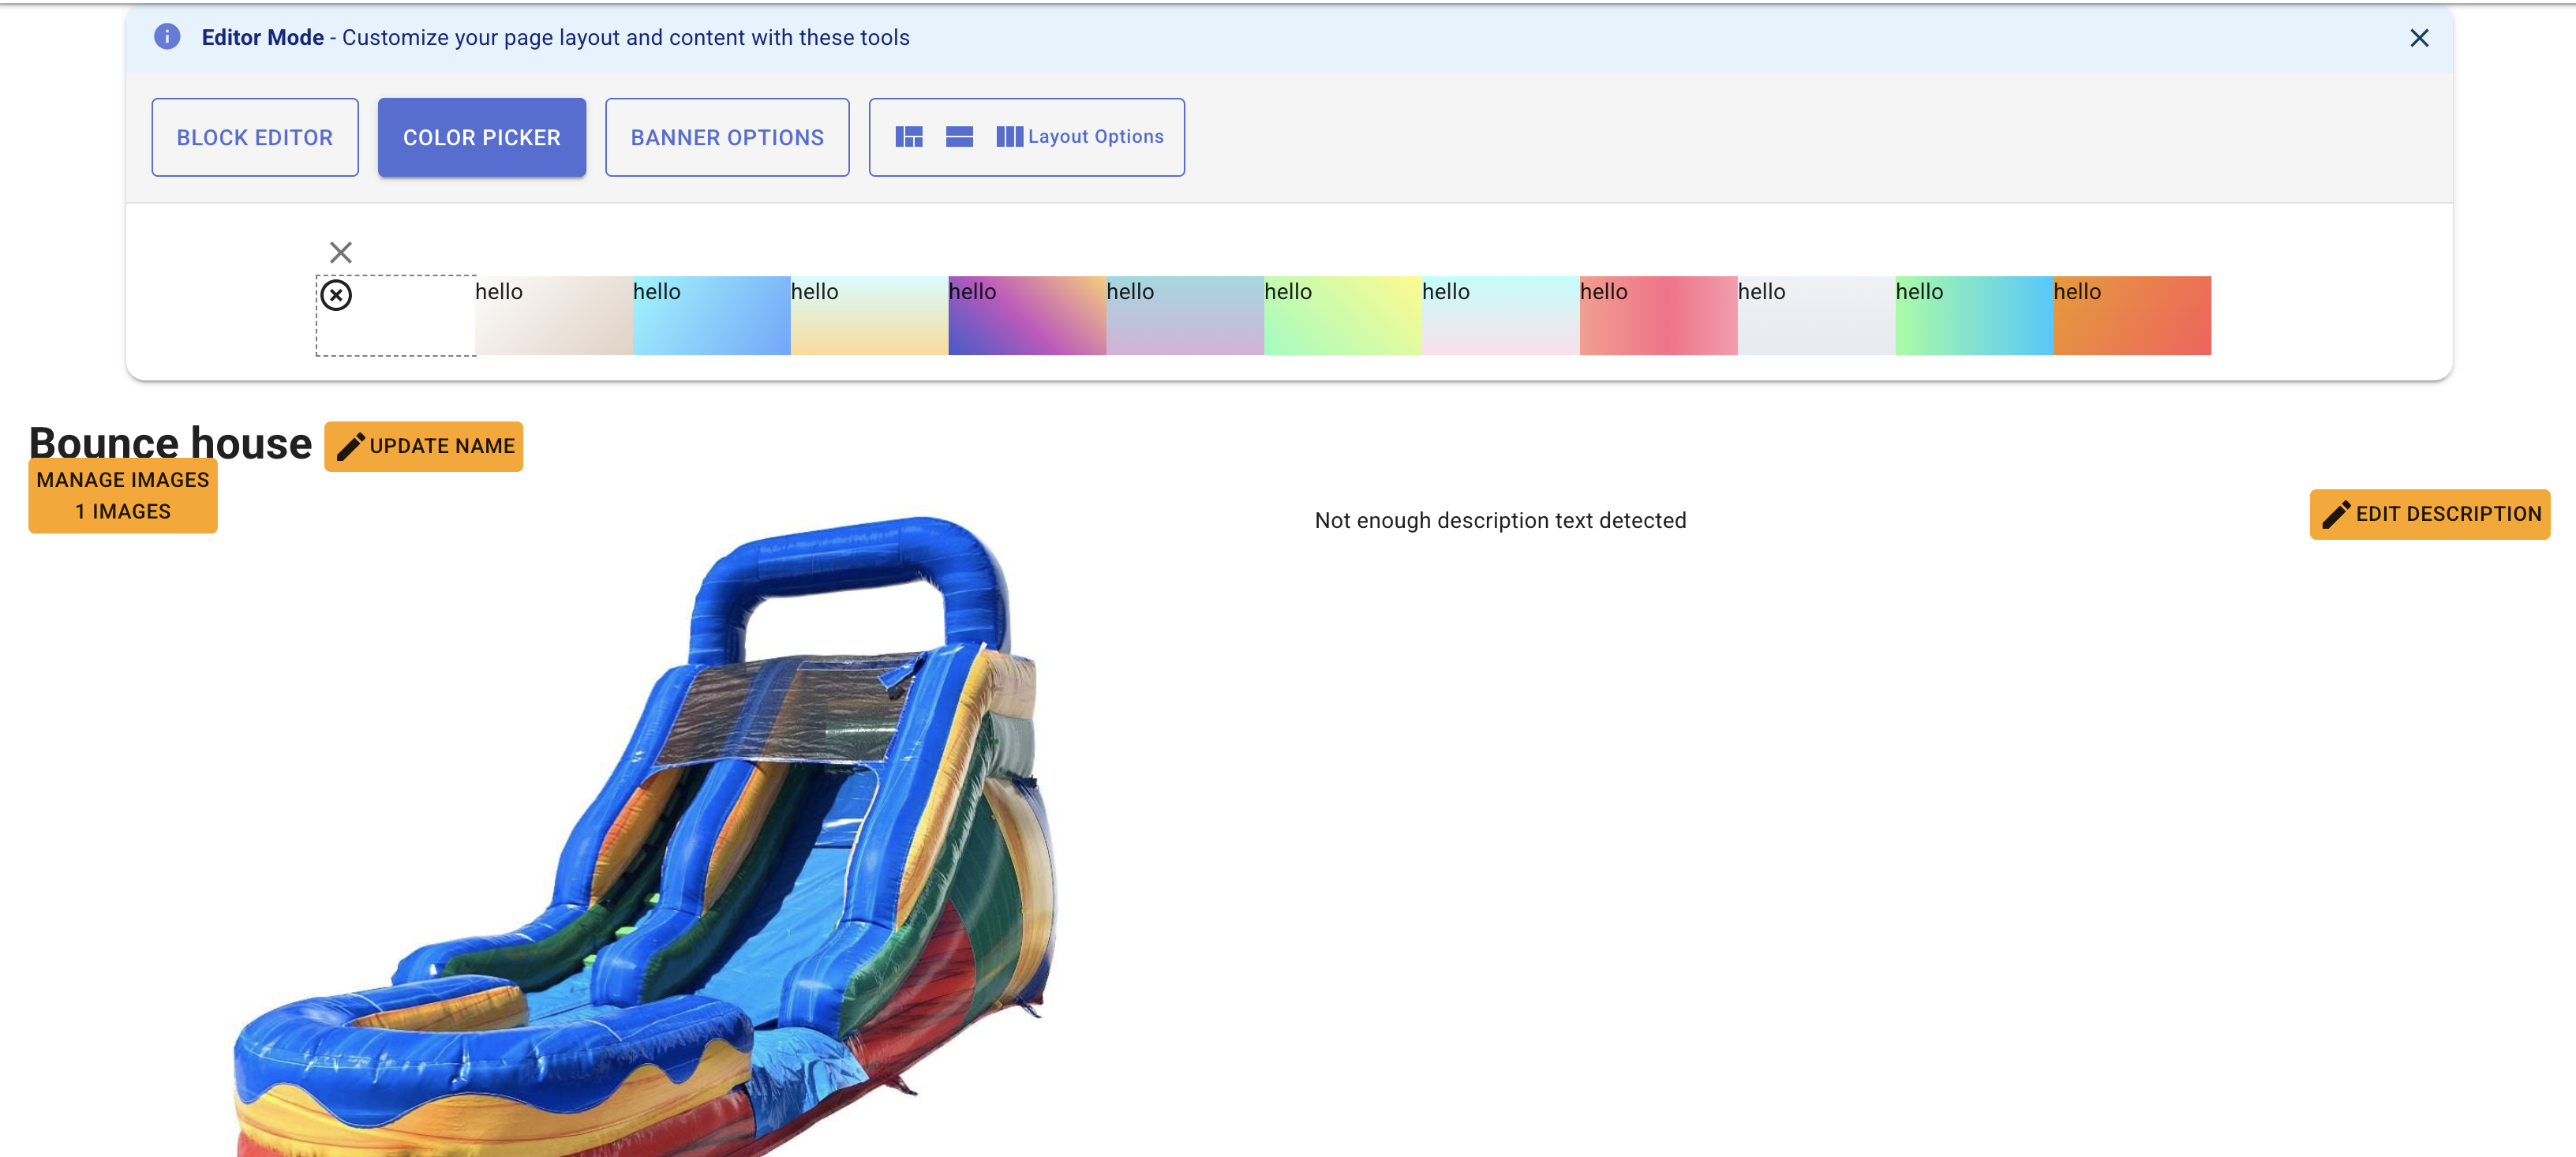
This interactive approach saves you time because you don't have to constantly switch back and forth between different edit pages.
How to Access:
Click the Interactive Mode button at the top of the Standard Admin View.
3. Comprehensive Edit Page
The Comprehensive Edit Page gives you access to advanced settings and configurations. Unlike the Interactive Mode, this view doesn't display the product page itself but focuses entirely on settings management.
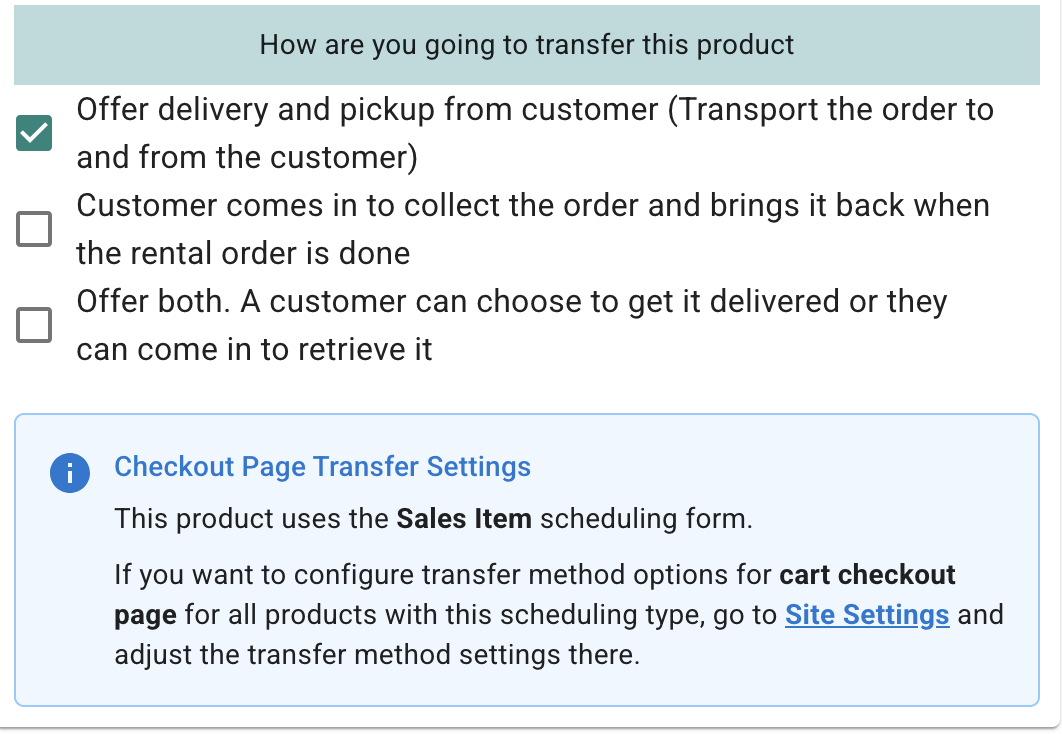
Key Features:
- Set delivery methods: Choose to deliver the item, have customers pick it up, or offer both options at checkout
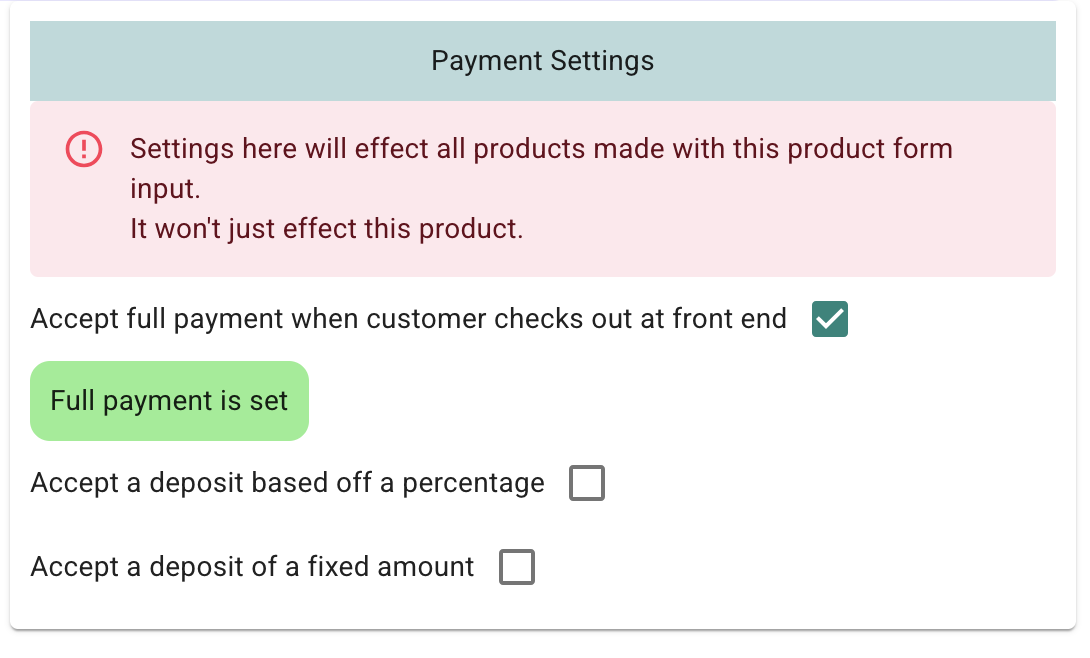
- Premium payment settings: If you're a premium user, configure deposit options and custom payment terms
- Related products: Add similar products that will appear on your product page for cross-selling
- Custom checkout fields: Add specific form elements to the checkout process, such as asking if customers need additional items like generators
How to Access:
Click the Comprehensive Settings button at the top of the Standard Admin View.
4. Customer View
The Customer View allows you to see exactly how your page appears to potential renters. By logging out, you can experience the page just as your customers will, ensuring the final presentation meets your expectations before going live.
Choosing the Right View for Your Task
- Use the Standard Admin View for quick checks and basic navigation
- Use the Interactive Mode for visual editing, content updates, and image arrangement
- Use the Comprehensive Edit Page for detailed settings, payment options, and checkout customization
- Use the Customer View for final verification before publishing
By leveraging all four views effectively, you'll create professional rental listings that maximize conversions and provide a seamless experience for your customers.
RentalSetup
The easiest way to build your rental business website. Get started for free.
Legal
Privacy Policy© 2026 RentalSetup. All rights reserved.